
Polypanels Playlist
17:50
16:00

14:07

36:20
Print Polypanels for yourself! Free STL files available at MyMiniFactory
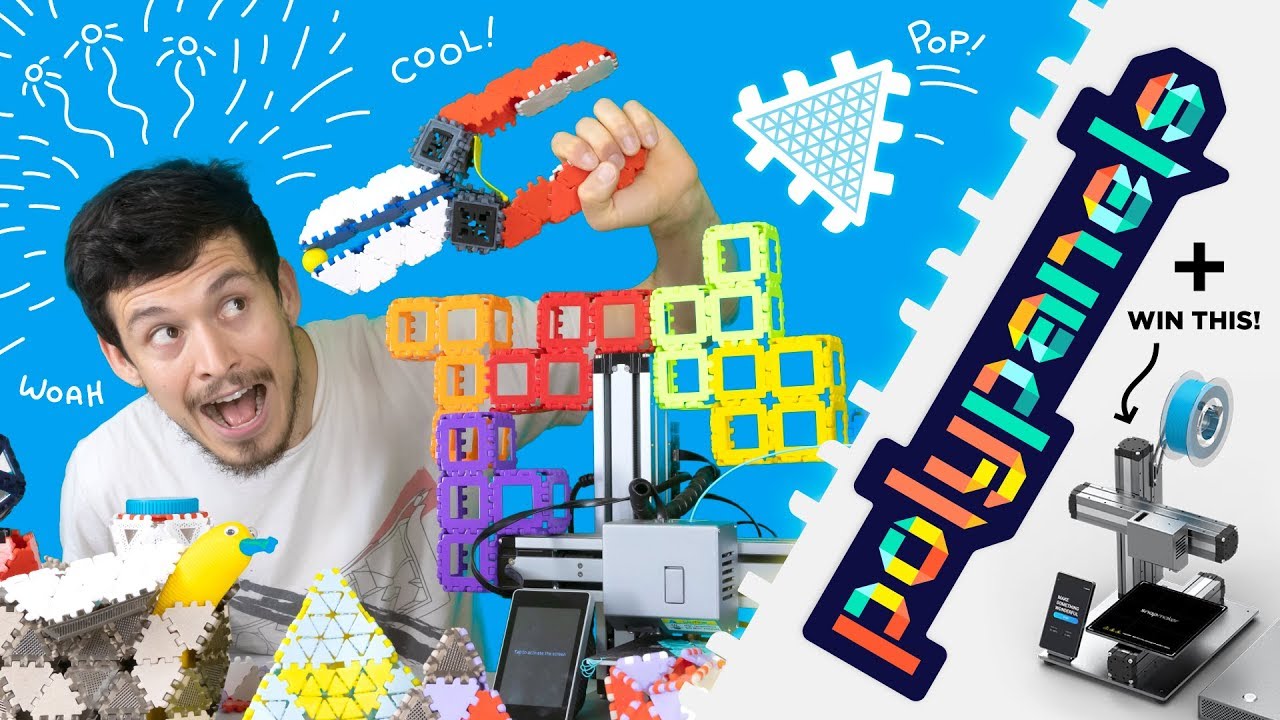
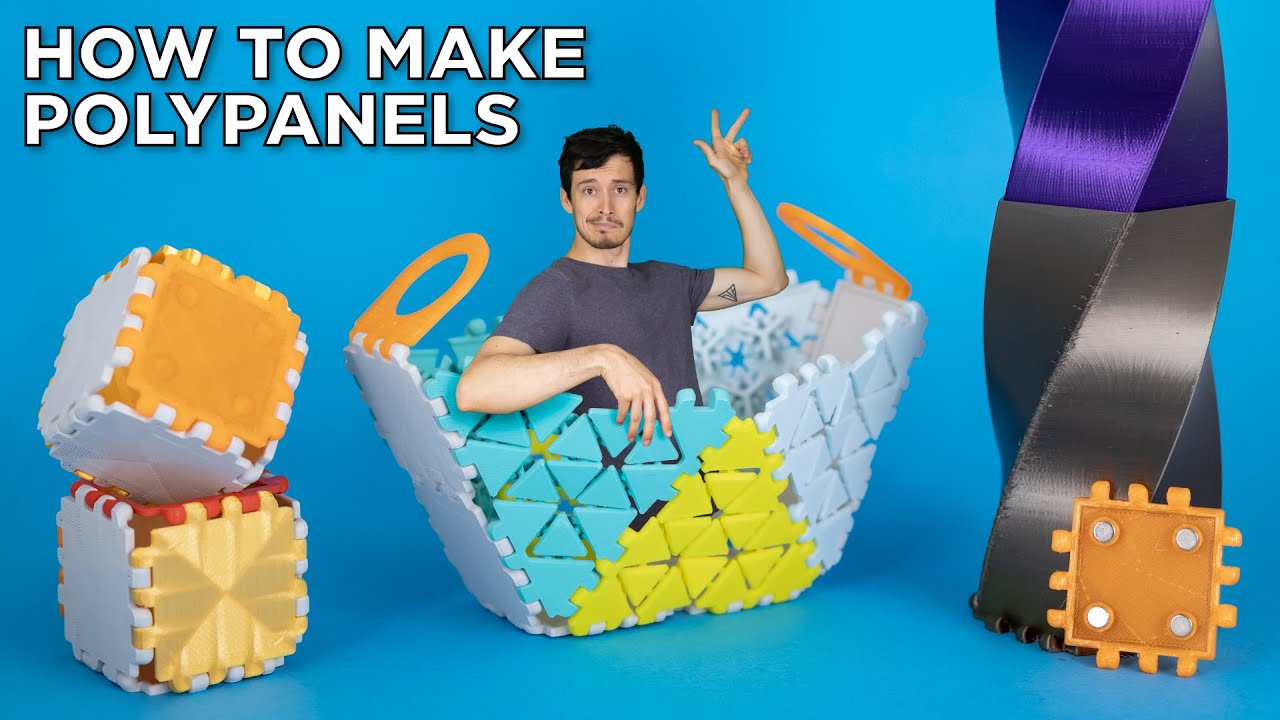
Intro to Polypanels
Welcome to the world of Polypanels, a system of snap together parts that let your build whatever you want! It’s like an open ended construction toy for making functional things, harnessing the power of 3D printing and the community to make it truly limitless. This page will teach you the basics of Polypanels to get you started making anything.
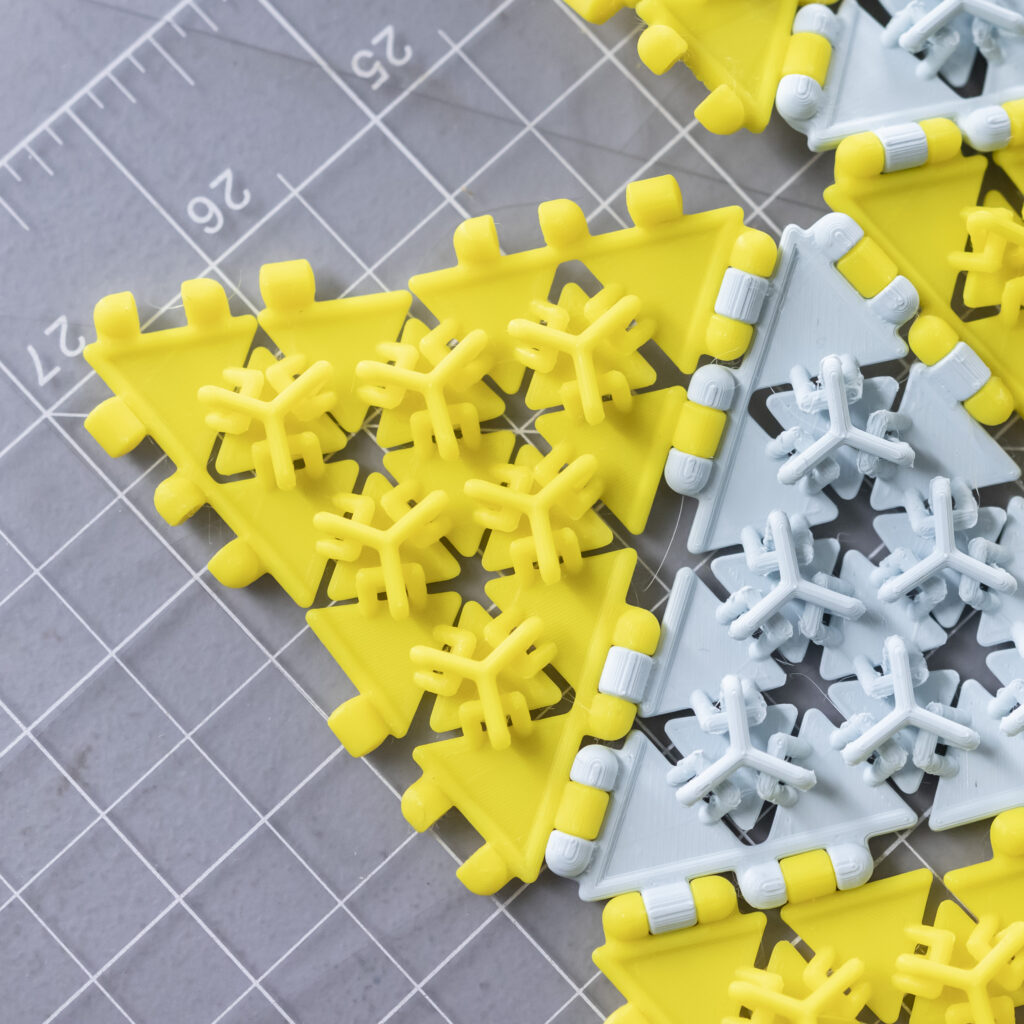
the Basics

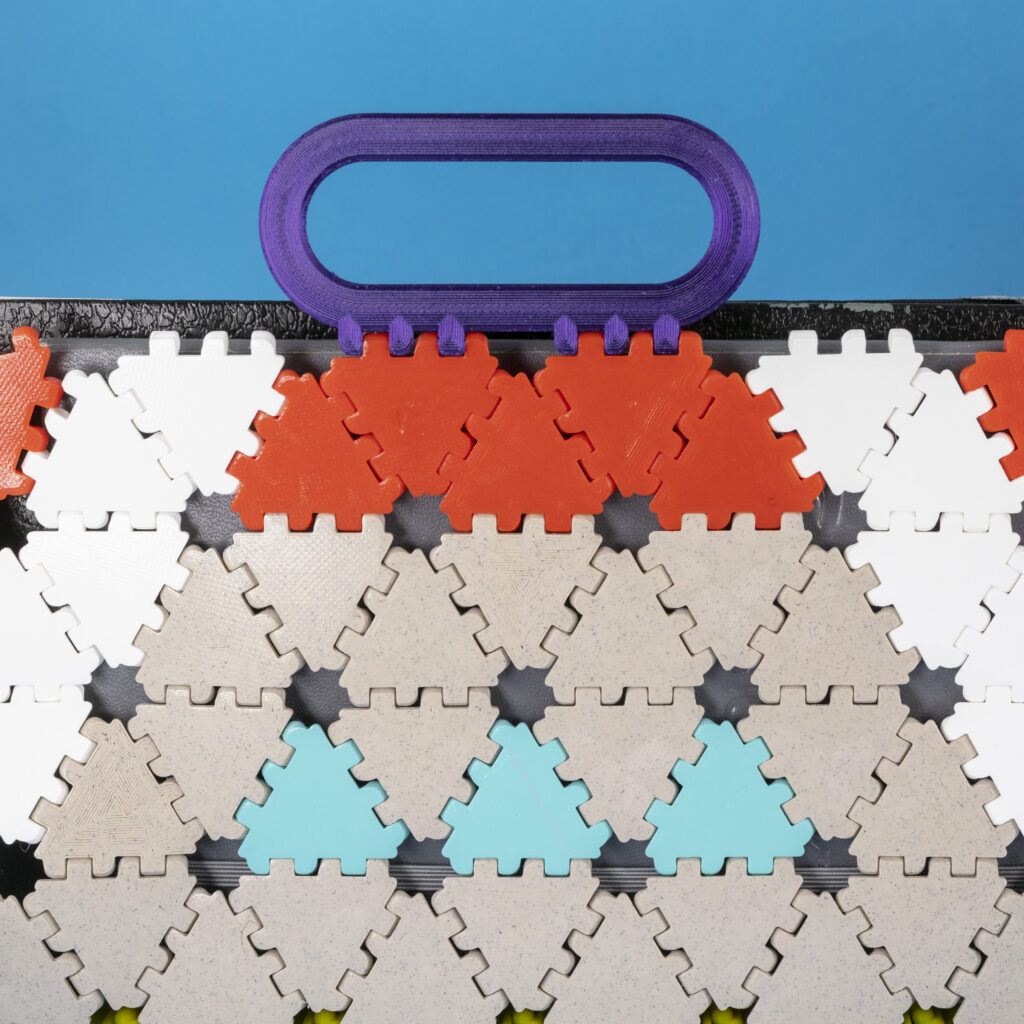
These are Polypanels! They come in any number of shapes, sizes and forms, but the edge connectors are always the same, so you can connect any one panel to another.

Simply press two edges together to connect panels in a snap!
The joint between two panels generally acts like a hinge. It will also snap into a 90 degree position in one direction.
Polypanels can combine into forms that are flexible, rigid, or somewhere in between.
Experiment and discover what structures work best for your need!
The more solid a Polypanel is, the stronger the connection will be. The thin Edge style Polypanels are easy enough for young ones to use, while the thickest vSolid style panels can take considerable force to connect and come apart.
Speaking of taking panels apart, here are the do’s and don’ts. The easiest way to separate panels is usually to ‘tear’ them apart, like you would with perforated paper. Just avoid twisting to separate, since that can pull apart the layers of your printed panels.

Sometimes you might build an enclosed shape that is hard to separate. I find wedging panels apart with a small tool like a pen tip will make easy work of such predicaments!
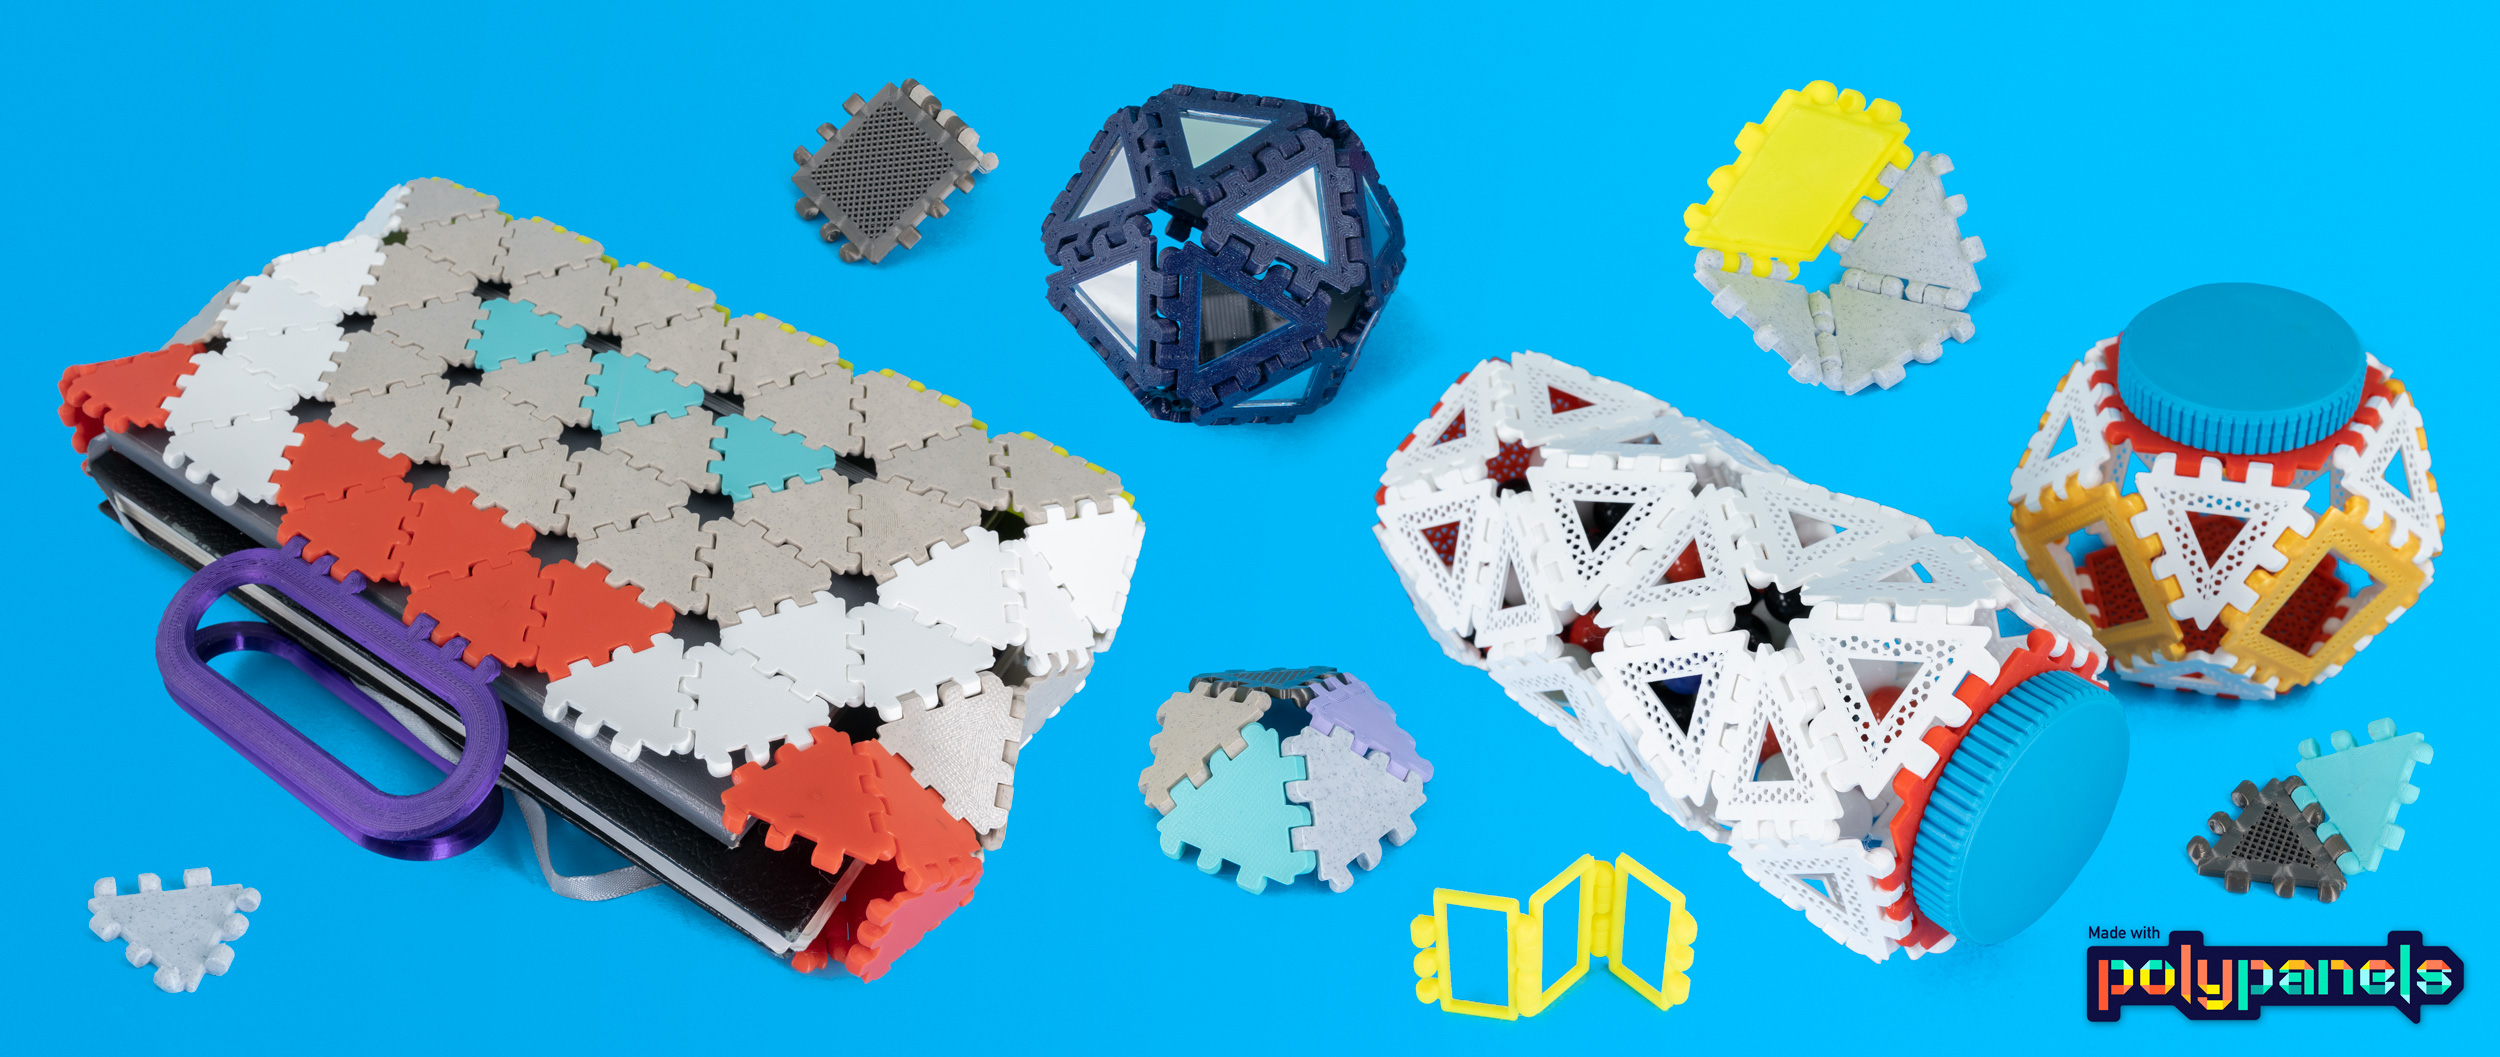
Even just the basic polygon Polypanels can come together to make awesome things :>
An ever-growing library of Specialty Panels means you can do some really extraordinary things with Polypanels. The sky is the limit! …or is it?
Specialty Panels
Some Specialty Panels might add general functionality, like these Bearing and Flexy Panels.
Other panels might be designed for a very specific purpose, like the connector for this Stråla IKEA Light.
Maybe a panel simply serves aesthetic purposes. As long as it can connect to other Polypanels, it’s fair game!
Making Your Own Polypanels
The library of Polypanels is ever-growing and plenty to work with, but at some point you’ll want to start making your very own Specialty Panels. Here are some general guidelines to get you started.
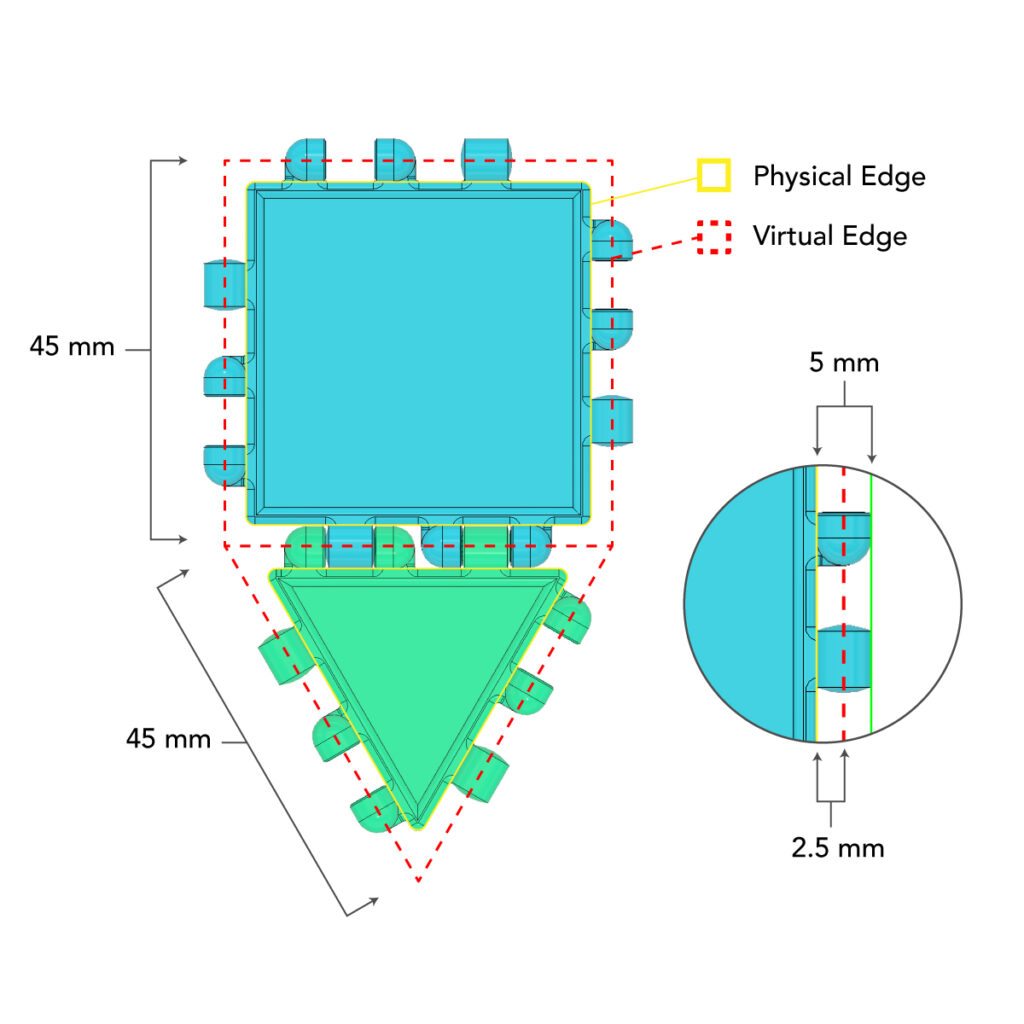
Virtual Edges
One of the most important concepts to understand when making panels is referencing the virtual edge, which is offset 2.5mm from the physical edge of our Polypanels. Since our panels are rotating along that axis, it’s important to reference that virtual edge for consistency, rather than the physical edge, which can have varying length depending on the base polygon. Generally the idea is to make panels compatible with the entire Polypanel system, so we make sure our virtual edges are all multiples of 45mm in length. Of course, exceptions may arise based on specific needs and functions, but nevertheless it’s important to keep the virtual edge in mind!
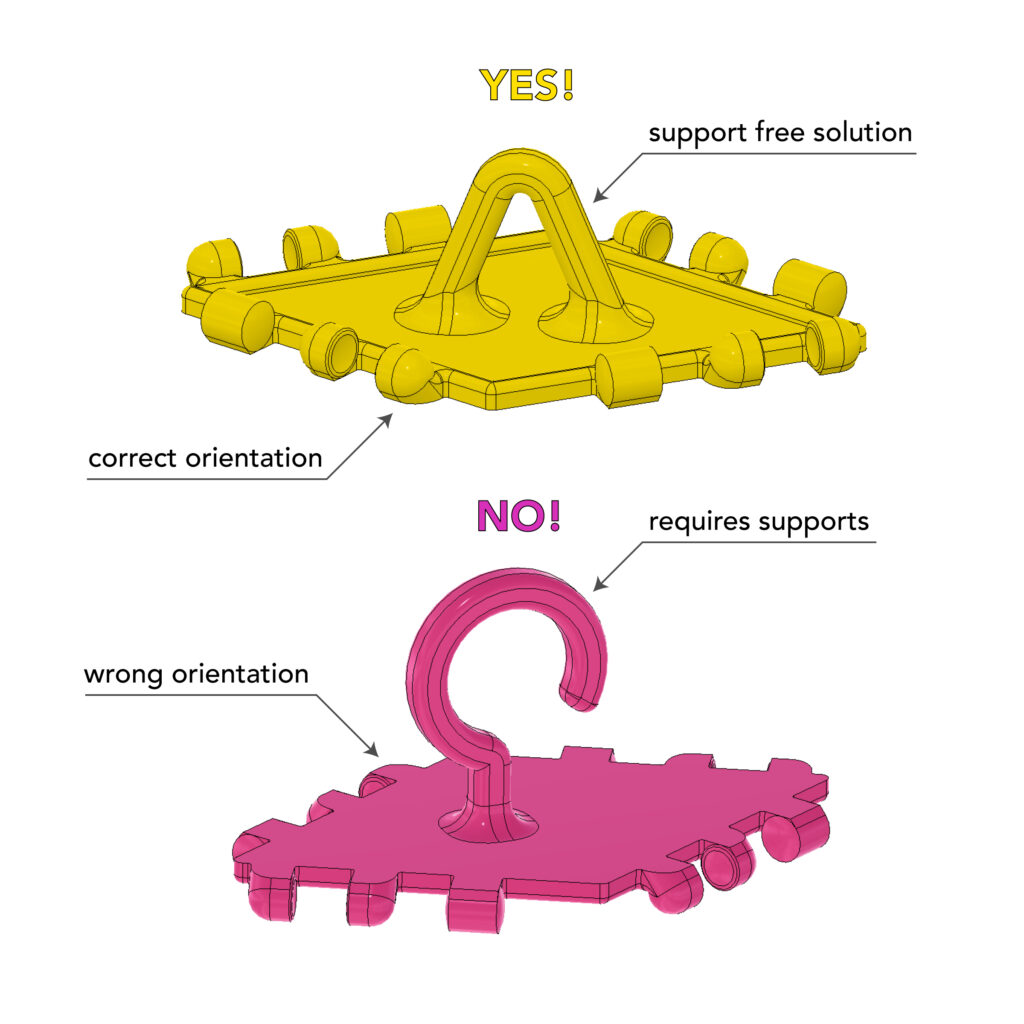
No Supports!
One important mission of Polypanels is to reduce 3D printing waste. The modular nature of Polypanels helps us repurpose our prints endlessly, but it’s also important to keep sustainability in mind while designing. If you flex your creativity, you’ll find there’s almost always a way to design Polypanels in a way that avoids using support material.
If you need the reverse the orientation of a Polypanel, you can flip the panel by simply mirroring the model. This can be done in most 3D modeling programs, and even in some slicers.
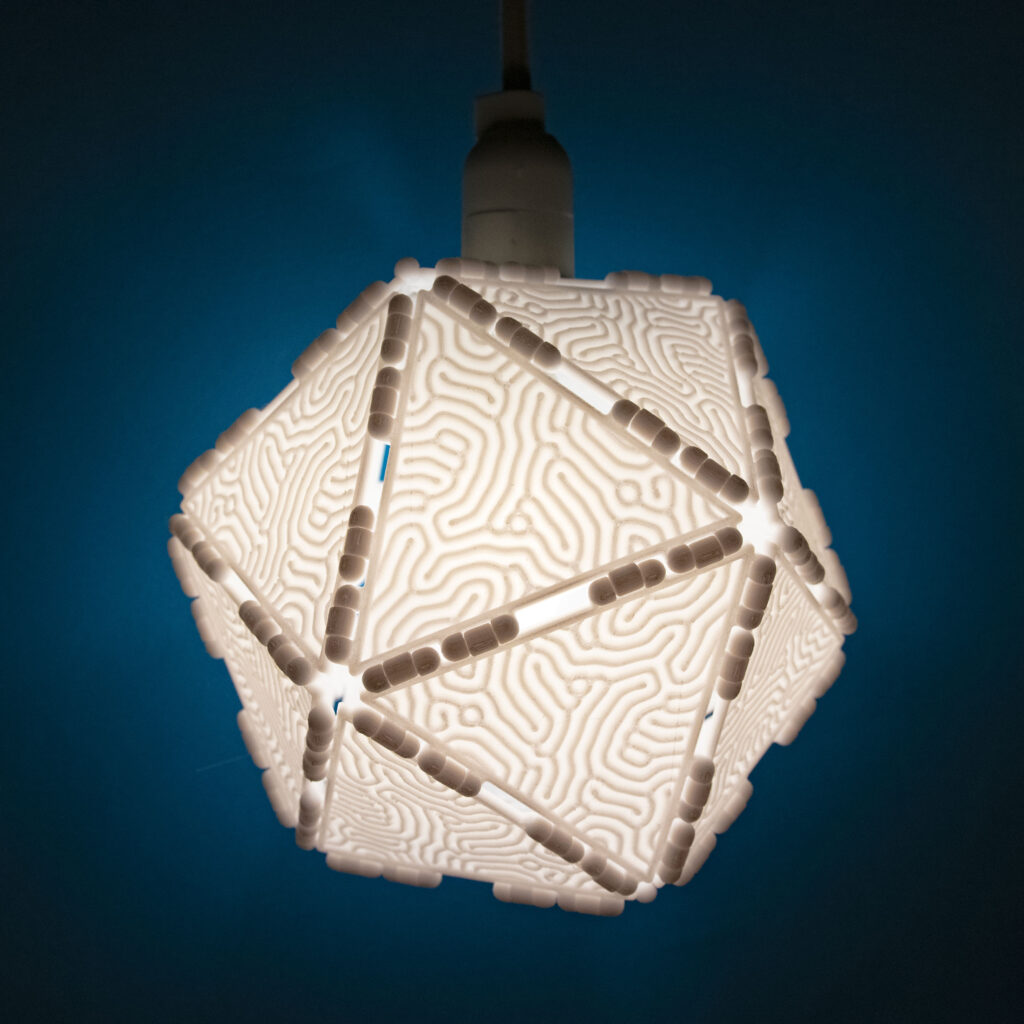
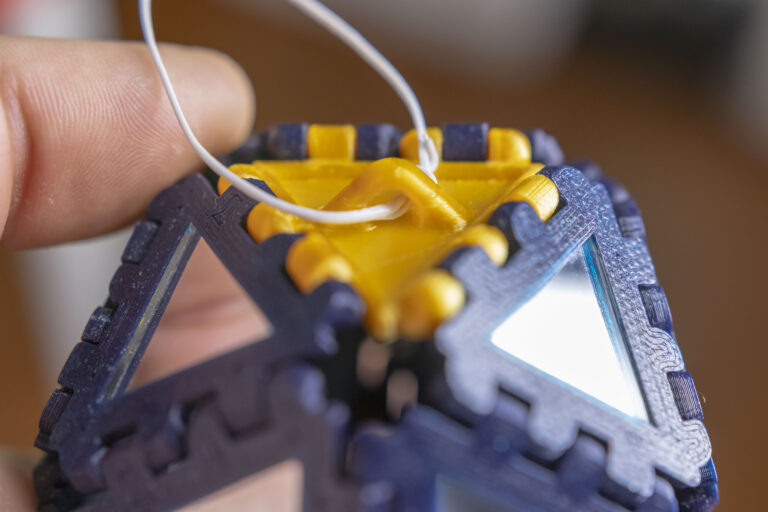
By flipping this Triangle Loop I was able to use it with the my DISCO panels to make this little Icosahedron Disco Ball!
Tips & Tricks
Here are some general guidelines to help with printing:
“My Polypanels are hard to stick together”
Polypanels are designed to be strong enough for a level of functional capability, so it may take some force to connect panels. If you’re finding it takes extreme force to connect, or panels are breaking from too strong a connection, there may be some issues on the printing end. The most common problem is over-extrusion, which will make parts slightly wider than they’re actually meant to be.
You can print a calibration cube to check the size accuracy of your printer or print the Polypanel Snaps Only to test the fit manually.
The general fix for over-extrusion is to decrease the flow rate or extrusion multiplier settings of your print. Start by decreasing by 5% or .05, then adjust based on your results.
Simplify3D has a horizontal size compensation setting that is also a quick fix. Use a negative value to make the connections looser.
Resources
Here are some useful assets and references to make remixing panels as easy as possible :
Fusion 360 Files (Also .STEP, .IGES., SketchUp, etc.)
STL Files
Other Filetypes
- Solidworks (2017+) Snap Connector (credit : Neil Sawhney)
- OpenSCAD (credit : gadgetshed)